
Last updated October 17, 2026
 Wrought iron
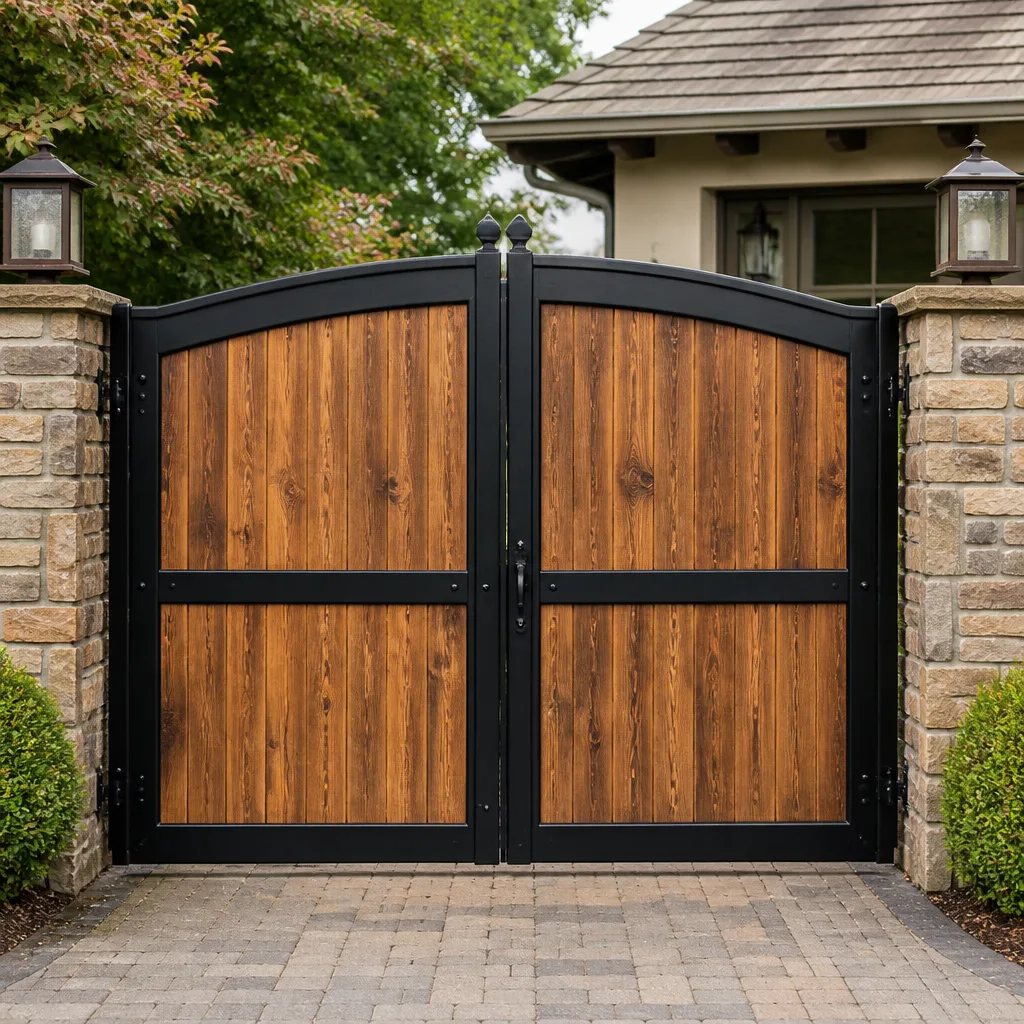 Wood & steel frame
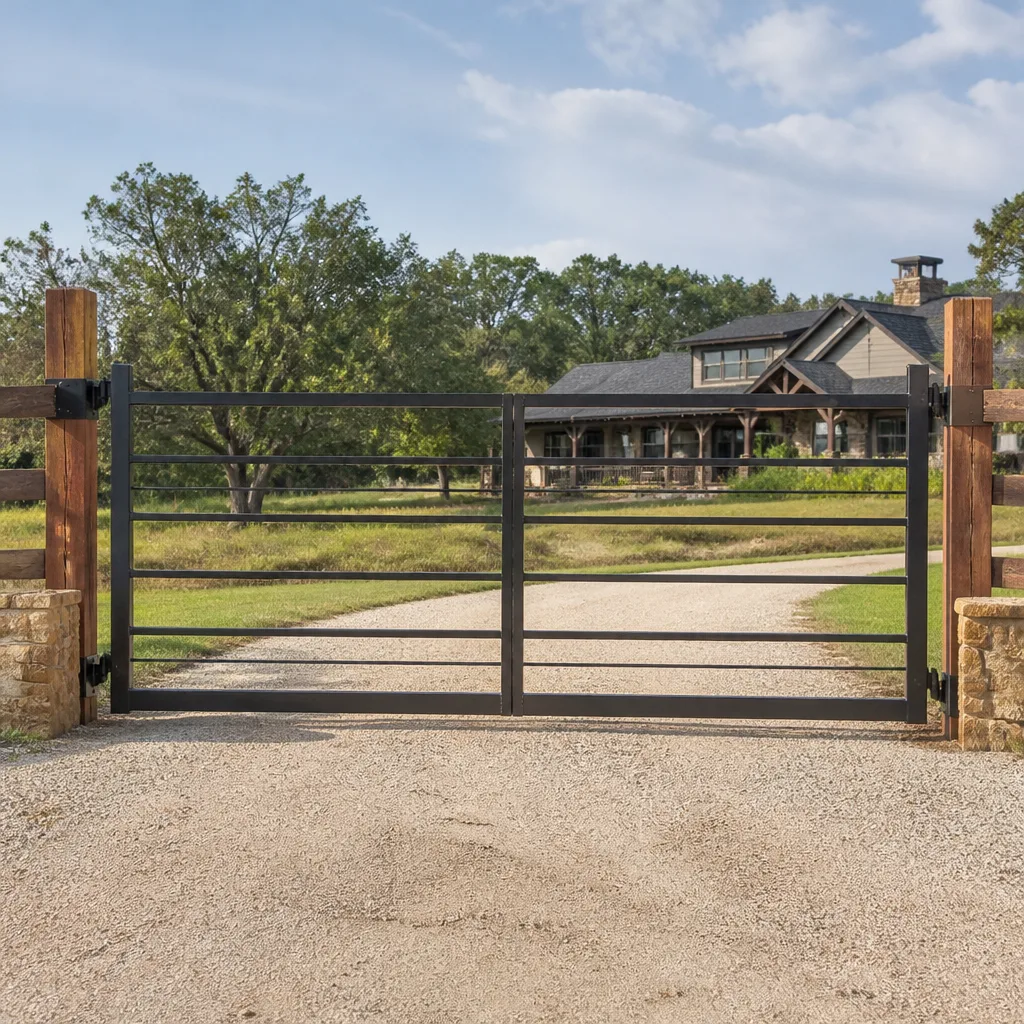 Farm & ranch
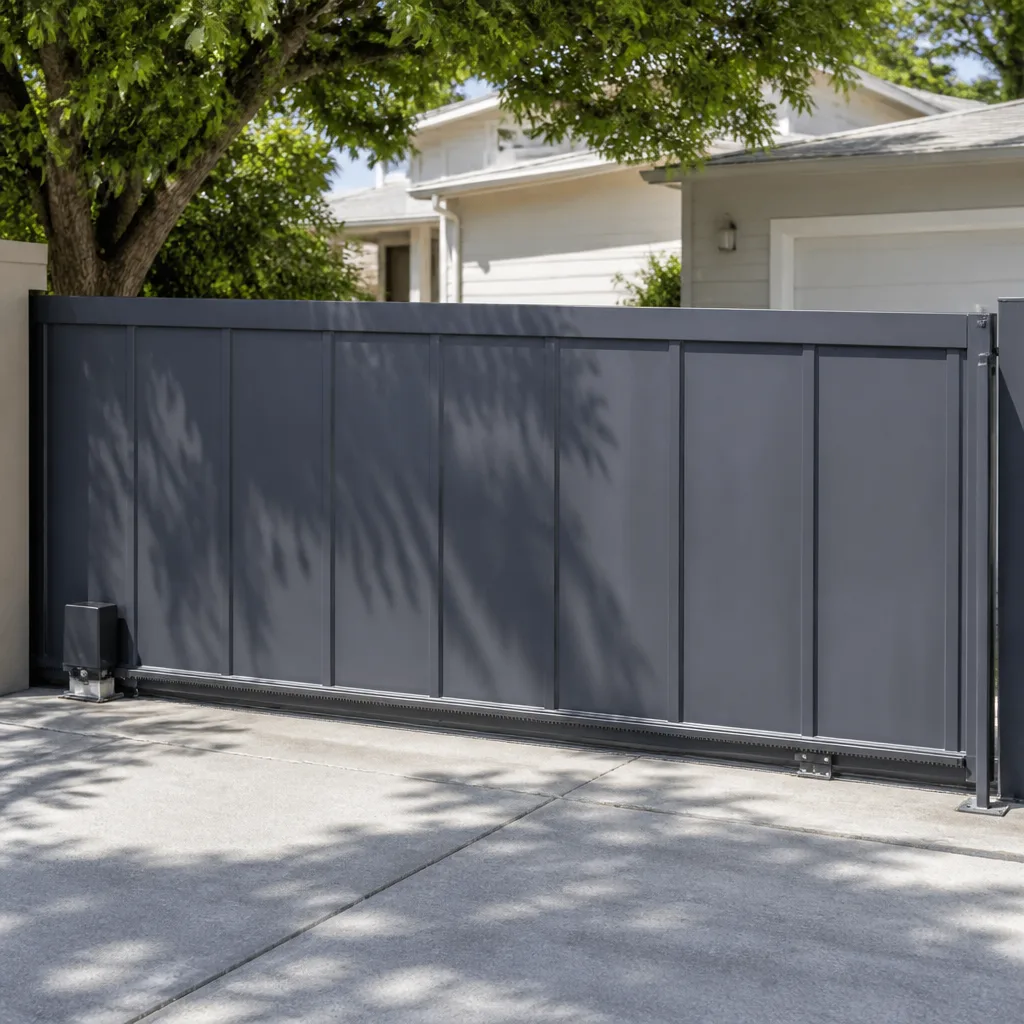 Sliding driveway gates
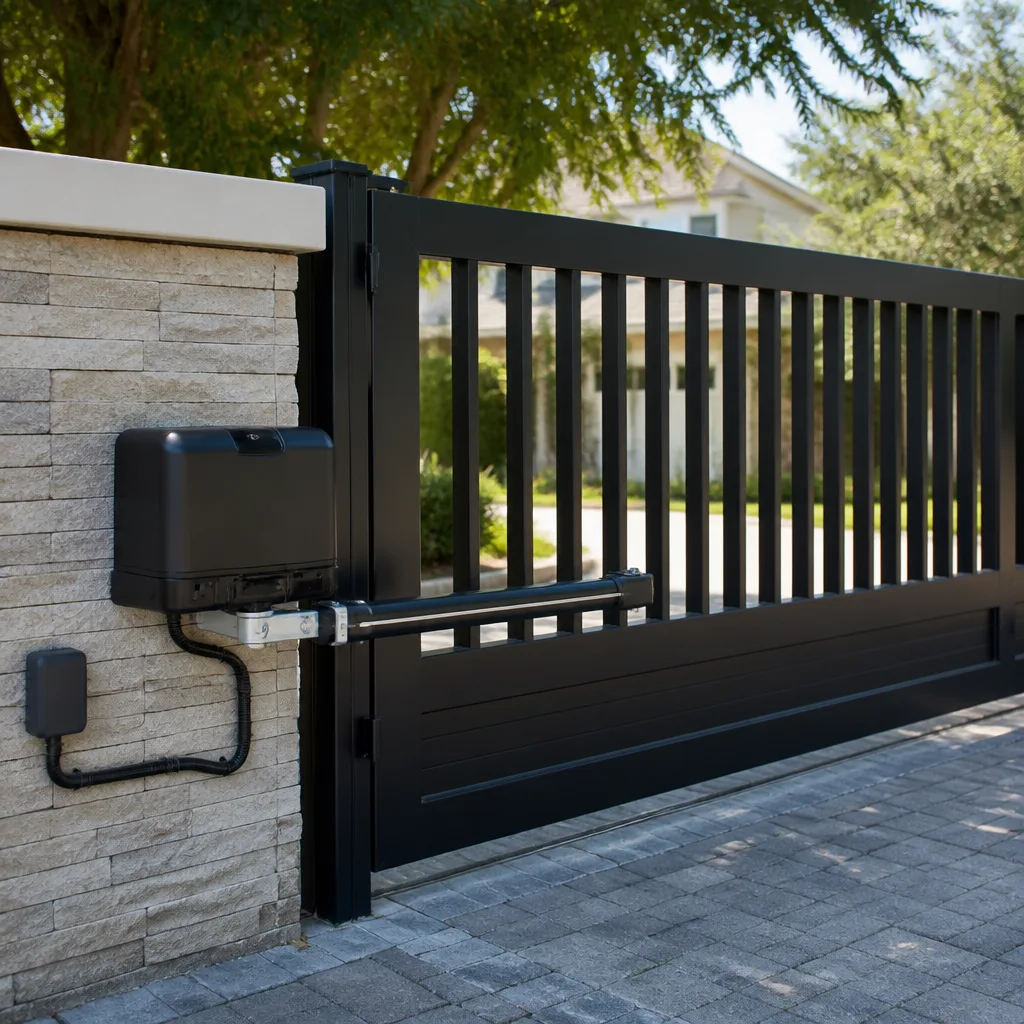 LiftMaster operators
Free on-site gate assessment - hinges, posts, and your LiftMaster or Nice gate operator checked before anything is quoted
The assessment is free and the quote is the invoice.
Get your free estimateDIY vs Professional Gate Repair: The San Antonio Homeowner’s Decision Guide
Here’s something most DIY gate repair content won’t tell you: the question isn’t whether you’re handy enough to fix a gate. It’s whether the specific failure in front of you falls into a category where handiness matters at all. A broken latch is a Saturday morning task. A misaligned safety loop is a liability event waiting for a child to walk through. This guide sorts San Antonio gate failures into three categories so you know exactly which repairs are genuinely DIY-appropriate, which ones will cost you more if you botch them, and which ones should never be touched without factory training. For a deeper look at pricing, see our Gate Repair Cost Breakdown: The San Antonio Homeowner’s Reference for 2026.
Styles & brands we work with
Quick Answer
DIY gate repair in San Antonio makes sense for mechanical failures like worn latches, loose hinge bolts, and basic track lubrication, which typically cost $15 – $40 in parts and under an hour of time. Professional repair is the right call for any failure involving gate operators, safety sensors, post alignment, or welding, where incorrect fixes create Texas property-owner liability and often cost more to correct than the original repair would have. The dividing line is not your skill level, it’s the failure type.
Table of Contents
- The Three-Tier System: Why Failure Type Beats Skill Level
- Tier 1: DIY-Appropriate Repairs (Latch, Hinge, Lubrication)
- Tier 2: DIY-Risky Repairs (Limit Switches, Battery Backup)
- Tier 3: Professional-Required Repairs (Safety Loops, Welds, Post Resets)
- The Texas Liability Line Most Homeowners Don’t See
- The Honest Cost Comparison: Latch Repair, DIY vs Pro
- Using a Professional Visit Strategically: What to Watch and Ask
- Common Mistakes to Avoid
- When to Call a Professional
- Frequently Asked Questions
- The Bottom Line
The Three-Tier System: Why Failure Type Beats Skill Level
Most DIY-versus-professional guides frame the question as a personality test: are you the kind of person who owns a socket set, or the kind who calls someone? That framing misses what actually matters. Gate repair failures fall into distinct mechanical and electrical categories, and your ability to fix them depends far more on the category than on your general competence.
Think of it like this: a homeowner who can rebuild a carburetor still shouldn’t recalibrate the airbag sensor in their car. The skill exists, but the stakes and the specialized knowledge don’t transfer. Gates work the same way. In San Antonio, where automatic driveway gates are common in neighborhoods from Alamo Heights to Stone Oak to Helotes, we see the same pattern every week: a capable homeowner fixes one thing perfectly, then breaks something adjacent to it because the adjacent thing lives in a different repair category.
The three tiers below sort nearly every gate failure you’ll encounter into a clear action category. The sorting principle is simple: what happens if you get it wrong? A misadjusted latch makes the gate hard to open. A misadjusted safety sensor makes the gate close on someone.
How the Tiers Work
- Tier 1, DIY-Appropriate: The failure is mechanical, visible, and reversible. If you make an error, the gate doesn’t close properly and you try again. No safety system is involved.
- Tier 2, DIY-Risky: The failure involves an electrical or adjustment component where manufacturer sequences matter and the wrong setting creates either a safety compromise or a cascading failure that costs more to fix than the original repair would have.
- Tier 3, Professional-Required: The failure involves a safety device, structural integrity, or a powered component where incorrect work creates immediate hazard or violates the gate operator’s UL 325 safety standard, which Texas courts treat as the reference point for property-owner liability.
This isn’t gatekeeping. It’s the reality of how automatic gate systems are designed: some parts are meant to be user-serviceable, some are meant to be technician-serviceable, and the distinction is embedded in the engineering itself. Once you understand which tier your failure lives in, the DIY-versus-professional decision makes itself.
Tier 1: DIY-Appropriate Repairs (Latch, Hinge, Lubrication)
These are the repairs where DIY genuinely makes sense for a San Antonio homeowner with basic tools and a free afternoon. The failures are mechanical, the parts are standard, and the consequence of error is a gate that doesn’t latch or swings stiffly, not a safety hazard. Here’s what actually falls in this tier.
Gate Latch Replacement
A worn latch is the most common gate failure we see, and it’s one of the few repairs where the hardware store genuinely has what you need. A standard gravity latch or spring-loaded latch runs between $12 and $25 at any San Antonio hardware store, and the replacement takes about 30 to 45 minutes with a drill, a screwdriver, and a level. The key detail most guides skip: match the latch type to your gate’s swing direction and post material before you buy. A latch made for a wood post won’t seat properly on a steel post without different mounting hardware.
Hinge Bolt Tightening and Replacement
San Antonio’s clay-heavy soil shifts with rain and drought cycles, and that movement transfers straight to gate posts. Hinge bolts loosen as a result. If your gate sags or scrapes across its arc, the first fix to try is tightening every hinge bolt with a socket wrench. If the bolts spin in place or the hinge itself is bent, replacement hinges cost $15 to $40 per pair depending on weight rating. Lifting a heavy gate off its hinges is a two-person job: the gate’s weight will surprise you, and a dropped gate can crack concrete or crush a foot.
Basic Lubrication
Most gate noise in San Antonio comes from metal-on-metal friction in the hinges and latch mechanism, worsened by our dry summers that bake lubricant off exposed surfaces. A spray lithium grease on the hinge pins and a dry graphite or Teflon spray in the latch mechanism solves most squeaks in 10 minutes. Avoid WD-40 for this: it’s a solvent first and a lubricant second, and it’ll wash out whatever grease remains. And if the gate has an operator, avoid lubricating the chain or belt unless the manufacturer’s manual specifically calls for it; some LiftMaster and BFT operators use self-lubricating chains that attract grit when sprayed.
For these three repairs, a competent homeowner with $50 in tools and parts can produce a result equal to a professional visit. The risk profile is low, the learning curve is shallow, and the savings are real. Our free guide to Gate Repair in San Antonio covers the warning signs that a gate has moved past simple lubrication into something structural.
Tier 2: DIY-Risky Repairs (Limit Switches, Battery Backup)
Tier 2 is where the “anyone can do this” framing of most DIY content starts to fall apart. These repairs look simple from the outside, a small adjustment here, a swapped battery there, but they involve components where the manufacturer’s calibration sequence is the difference between a working gate and a dangerous one. The failure itself is not dangerous. The incorrect repair can be.
Limit Switch Adjustment
A limit switch tells the gate operator where the open and closed positions are. If your gate stops short or bangs at the end of its travel, the limit switch is the likely culprit. On paper, adjusting it means turning a small screw or moving a magnet. In reality, operators from FAAC, Linear, and Viking use different calibration sequences, and getting the closed-position limit wrong by half an inch changes how much force the gate applies at the stop point. Too little, and the gate doesn’t seal. Too much, and the operator’s internal clutch wears prematurely, or the gate binds against the post and eventually bends the bracket. We’ve seen San Antonio homeowners adjust a Linear limit switch by following a YouTube video for a different Linear model and end up with a gate that closes fine for a month and then strips the operator’s gear drive, at which point the “free” adjustment costs $400 to correct.
Battery Backup Replacement
Battery replacement sounds like the most straightforward job in the world. Unsnap the old one, snap in the new one, done. The catch is that automatic gate operators rely on the battery for more than backup power. In many systems, the battery conditions voltage to the control board, and a battery with the wrong terminal configuration, voltage tolerance, or charge profile can burn out the board or confuse the operator’s internal diagnostics. Worse, some operators require a specific replacement battery that matches the operator’s charging circuit; a generic “equivalent voltage” battery can overheat. The battery itself costs $30 to $60. The control board it can take down with it costs $250 to $500 on a BFT or Viking unit. If the manufacturer’s manual doesn’t explicitly show a homeowner battery-replacement procedure, that silence is the signal to call someone.
The Tier 2 Standard
Here’s the test we use: if the repair involves a component with a calibration sequence, a torque specification, or a manufacturer’s note that says “qualified technician only,” treat it as Tier 2 at minimum. Your skill level doesn’t override the fact that you don’t have the manufacturer’s full service documentation. And in San Antonio, where summer temperatures push gate operators hard and the clay soil keeps everything slightly out of square, marginal adjustments fail faster here than they would in Dallas or Houston.
Tier 3: Professional-Required Repairs (Safety Loops, Welds, Post Resets)
Tier 3 repairs are non-negotiable. These are the failures where the risk isn’t a botched adjustment you can redo; it’s an injury, a legal liability, or structural damage that compounds while you hesitate. No amount of YouTube confidence changes the physics or the law involved.
Safety Loop Calibration and Repair
Safety loops are the buried wires that detect a vehicle sitting on the loop, and they’re one of the two required safety devices on any automatic gate in a residential San Antonio driveway (the other being the photoelectric sensor or “photo eye” at the gate line). A safety loop that’s damaged, cut, or improperly calibrated fails silently. The gate still opens and closes. It just stops detecting the car parked on the loop, which means it stops holding open, which means it starts closing on cars, bicycles, pets, and people. Safety loop work requires a loop detector, an understanding of induction frequencies, and a way to test the loop’s detection field across its entire area. This is not a repair. This is a safety system. Do not touch it.
Weld Repair
Broken welds on a wrought-iron or steel gate are almost always the result of metal fatigue at a hinge point or a bracket, and a proper repair involves more than running a bead over the crack. The surrounding metal needs assessment, the gate needs to be supported so its weight doesn’t pull the weld apart as it cools, and the repair area needs paint or powder coat to prevent San Antonio’s humidity from starting corrosion at the weld site. A poor weld on a heavy gate looks fine for a season and then fails catastrophically, usually while the gate is in motion. This is Tier 3, full stop.
Post Reset and Reinforcement
This is the repair that San Antonio’s soil makes uniquely necessary. When a gate post leans or shifts, the cause is usually either a shallow footing, a rotting wood post base, or clay soil movement from our wet-dry seasonal cycles. A proper post reset involves excavating around the footing, assessing the concrete’s condition, re-setting the post plumb and square in both planes, and often pouring a larger footing with rebar. A homeowner who tries to straighten a leaning post by pulling it back and packing soil around it has bought themselves a few months, not a fix. The post will shift again, and every cycle of shifting puts more stress on the hinges, the latch, and the gate’s alignment. If you have a leaning post in San Antonio, the cheapest moment to fix it is today, and it’s Gate Installation in San Antonio territory, not a weekend project.
Operator Replacement on Cedarwell-Family Systems
If your FAAC, BFT, Linear, or Viking gate operator fails and the unit needs replacement, the operator itself is only part of the job. The new operator has to be matched to the gate’s weight and travel distance, the safety devices have to be re-paired and re-calibrated, and the mounting bracket geometry rarely matches the old unit exactly. Operator replacement on a Cedarwell-family system is a half-day professional job, not a swap. If you’re seeing intermittent operator failures, our Electric Gate Repair in San Antonio guide explains what a technician checks before declaring a unit dead.
The Texas Liability Line Most Homeowners Don’t See
Here’s the scenario most DIY content never mentions. You adjust your gate operator’s safety-reverse sensitivity without the manufacturer’s calibration sequence. The gate passes the casual test: you wave your hand in front of the photo eye, and the gate reverses. What you don’t know is that the sensitivity setting you just changed governs the operator’s obstruction detection, which is the system that reverses the gate when it physically encounters resistance. A gate with obstruction detection set too high becomes, in legal terms, a crushing hazard. And under Texas premises liability law, the property owner, not the person who adjusted the gate, carries the responsibility for injuries that occur on the property.
Texas courts have treated automatic gates as attractions and dangers under premises liability doctrine for years. The relevant standard is simple: if a person is injured by a gate on your property and the gate was not in compliance with the UL 325 safety standard that governs automatic gate operators, you have a significant liability exposure that your homeowner’s insurance may or may not cover depending on your policy’s exclusions. The adjustment that saves you a $95 service call can cost you a six-figure settlement.
This is the line we draw for homeowners, and we draw it plainly because it’s true: if the repair involves any component whose purpose is to detect, reverse, stop, or hold, the repair is not DIY. Not because you’re not capable. Because the downside of the wrong setting is not a gate that misbehaves, it’s a gate that injures someone on a Tuesday afternoon, and the lawyer on the other side will ask who last touched the safety system. If that answer is “the homeowner, with a YouTube video,” the case gets very expensive very fast.
The Honest Cost Comparison: Latch Repair, DIY vs Pro
Most DIY-versus-professional content is dishonest about cost, so here’s a real number from the San Antonio market, using a standard gate latch replacement as the reference point. This is the repair where DIY makes the strongest financial case, so it’s the fairest comparison.
DIY Latch Replacement: The Real Cost
- Parts: Standard gravity latch or spring latch, $12 to $25 at a local hardware store, depending on finish and weight rating.
- Consumables: Two or three drill bits if your gate is steel and you don’t have the right size ($4 to $8), plus thread-locking compound if the gate is in a high-vibration spot ($6).
- Tools, already owned assumption: Drill, screwdriver set, level, socket set. If you don’t own a drill, add $40 to $80 for an entry-level cordless unit, which puts DIY at a disadvantage.
- Time: Plan for 45 minutes of actual work, plus 30 minutes of retrieving parts and reading the latch’s mounting template carefully.
- Total, tools already owned: $18 to $39 in parts and consumables, 45 minutes of labor.
Professional Latch Replacement: The Real Cost
- Service call and labor: In San Antonio, a professional gate latch replacement typically lands between $85 and $120 total, depending on the latch type and the gate’s condition.
- Parts quality: A professional shop uses commercial-grade latches that run $20 to $45 wholesale, which typically outlast the retail hardware store versions by several years.
- What else the visit includes: A decent gate technician will check the hinge tension, the gate’s plumb alignment, and the strike plate while they’re there. That’s 15 extra minutes that catches the next failure before it happens.
- Total: Approximately $95 all-in for a standard latch replacement, with the written price provided before any work starts.
The honest conclusion: DIY saves you about $60 to $77 on a latch replacement, assuming you already own a drill and the repair goes smoothly on the first attempt. That’s real savings, and for a homeowner who enjoys the work, it’s a reasonable use of a Saturday morning. The calculation changes when the repair is anything in Tier 2 or Tier 3, where the cost of correcting a DIY error typically runs three to five times the original professional repair price.
Using a Professional Visit Strategically: What to Watch and Ask
If you do call a professional for a gate repair in San Antonio, the visit has value beyond the immediate fix. A good technician’s on-site routine is a diagnostic record you can use later, and a few specific questions turn a $100 service call into a reference document for the life of your gate. Here’s how to get the most from the visit.
What to Watch During the Visit
- The written price step: The technician should provide a written price before any work begins. If they won’t, that’s a signal to find a different shop. At Latch and Post Gate Repair San Antonio home we write the price down before we touch anything, every visit, no exceptions.
- The diagnostic sequence: Watch how the technician approaches the gate. A real diagnostic sequence starts with the gate in its resting position, then cycles it manually, then under power if there’s an operator, then checks the safety devices last. If the technician starts replacing parts before cycling the gate manually, ask why.
- The safety check: For any visit involving an automatic gate, the technician should test the photo eye and the obstruction detection before declaring the job done. If they don’t test the safety system, the repair isn’t complete.
What to Ask Before They Leave
- “What was the root cause?” The answer should be specific: a worn latch pin, a shifted post, a failed capacitor. If the answer is vague (“it was just old”), that’s a technician who replaced a symptom, not a cause.
- “What’s on the maintenance horizon?” A good technician will tell you what’s wearing and roughly when it’ll need attention. This turns the visit into a five-minute forecast for your gate.
- “Can you document the cleanup?” This sounds like a small thing, but it’s a proxy for how the technician treats your property. Our technicians operate under the Cedarwell C.A.R.E. values, and one of those values is Clean up like it is our own home. We put on shoe covers and lay drop cloths before we step inside, and we take a photo of the cleanup before we leave, so you have a record of exactly how the property looked when we left it. If a shop won’t commit to that, the gate repair may be fine but the on-site experience will vary.
The strategic use of a professional visit is simple: you pay for the repair, and you collect a diagnostic baseline for free. Write down what the technician said, take a photo of the written scope, and keep it with your house records. Next time the gate misbehaves, you’ll know whether the failure is new or a recurrence of the old one, and that knowledge makes every future decision faster.
Common Mistakes to Avoid
- Applying the “handy person” label to safety systems. Your competence with carpentry or automotive work does not transfer to gate operator safety calibration. The manufacturer’s sequence exists for a reason, and skipping it because you’re generally capable is the most expensive error we see in San Antonio.
- Using the wrong lubricant on a gate operator. WD-40 and similar penetrating oils wash out the grease in a chain-drive operator and attract dust in a belt-drive system. Use the lubricant specified in the manufacturer’s manual, or none at all if the manual doesn’t call for one.
- Ignoring a leaning post because the gate still works. In San Antonio’s clay soil, a post that’s 3 degrees out of plumb today is 8 degrees out next year, and the stress on the hinges compounds with every degree. The repair is cheapest at first detection.
- Assuming all battery backups are interchangeable. Gate operators use specific battery chemistries and terminal configurations, and a wrong battery can damage the control board. If the manual doesn’t show a homeowner procedure, don’t improvise one.
- Testing a safety sensor once and calling it done. A single hand-wave test doesn’t verify that the sensor field covers the full gate opening or that obstruction detection is set correctly. Safety devices need a full functional test, not a casual wave.
- Welding a cracked gate without addressing the cause. Most gate cracks happen at stress concentration points, and a weld alone doesn’t remove the stress. The surrounding metal needs reinforcement or the same spot will crack again, usually within a season.
- Accepting a repair without a written scope. If the price isn’t in writing before the work starts, you’ve lost your reference point for what was agreed. A written price is the minimum standard for any professional gate repair. Every gate repair we perform at Latch and Post starts with a written price before we begin, no exceptions, no pressure.
When to Call a Professional
Call a professional when the failure involves a safety device, a structural component, or a powered operator that isn’t explicitly documented for homeowner service. That’s the whole rule. A leaning post, a cracked weld, a safety loop that’s stopped detecting, a photo eye that won’t stay aligned, an operator that works intermittently, a limit switch that needs adjustment on a FAAC or Viking unit, all of these are Tier 3 or Tier 2 calls. If you’re in San Antonio and you’re not sure which tier your gate failure falls into, call and describe the symptom. We’ll tell you honestly whether it’s a DIY job or a technician visit, because the answer is based on the failure type, not on whether we want the work. Latch and Post Gate Repair San Antonio offers free estimates in San Antonio. Call (325) 252-5195.
Frequently Asked Questions
Gate repair in San Antonio typically costs between $85 and $350 depending on the failure. A standard latch replacement runs about $95 all-in, while a post reset or weld repair can reach $350 to $600. At Latch and Post, the exact price is written down before any work starts, so there’s no guesswork and never a surprise invoice. Call (325) 252-5195 for a quote on your specific gate.
You can fix certain mechanical components of an electric gate, like the manual latch or the hinge bolts, but you should not attempt repairs on the operator, safety sensors, limit switches, or buried safety loops. These components are governed by the UL 325 safety standard, and incorrect adjustment creates a Texas premises liability exposure for you as the property owner.
A safety loop is a buried wire coil that detects when a vehicle is sitting on it, and it tells the gate operator to hold the gate open until the vehicle clears. If a safety loop fails in San Antonio, the gate still opens and closes normally, but it will begin closing on cars, bikes, and people who happen to be in its path. Loop repair and calibration is professional-required work.
Most San Antonio gate repairs take between 45 minutes and 3 hours on site. A latch replacement is usually under an hour. A post reset with new concrete is a half-day job that also requires curing time before the gate is fully usable. A written timeline is part of the written price we provide before starting, so you’ll know what to expect before the work begins.
We’re factory-trained on FAAC, BFT, Linear, Viking, LiftMaster, Ghost Controls, DoorKing, Elite, and Mighty Mule operators. If you own one of these brands, the right fix usually happens on the first visit. If you’re not sure what brand your operator is, the unit’s label typically sits on the side of the motor housing, and we can identify it over the phone.
Yes, always, no exceptions. Every Latch and Post visit starts with a written price for the work we’re about to perform, and you see that number before we touch anything. That’s a Cedarwell Care Promise, and it’s part of the 365-Day Done Right Promise that covers every repair and installation we complete. If the work isn’t right, we make it right.
The Bottom Line
The DIY-versus-professional gate repair decision in San Antonio comes down to one question you can answer in 30 seconds: what’s the failure type? Latch, hinge, or lubrication issues are Tier 1 DIY territory, and a competent homeowner with $50 in tools can handle them. Limit switch adjustments and battery swaps are Tier 2, where the risk is a cascading failure that costs more than the service call would have. Safety loops, welds, post resets, and operator work are Tier 3, where the Texas liability exposure makes professional repair the only rational choice. When the job calls for a professional, call (325) 252-5195 for a free estimate, with the written price provided before any work begins. For more guides & resources, visit our blog.
Written by Cody Beckman, Owner at Latch and Post Gate Repair San Antonio, serving San Antonio since 2009.
See the difference
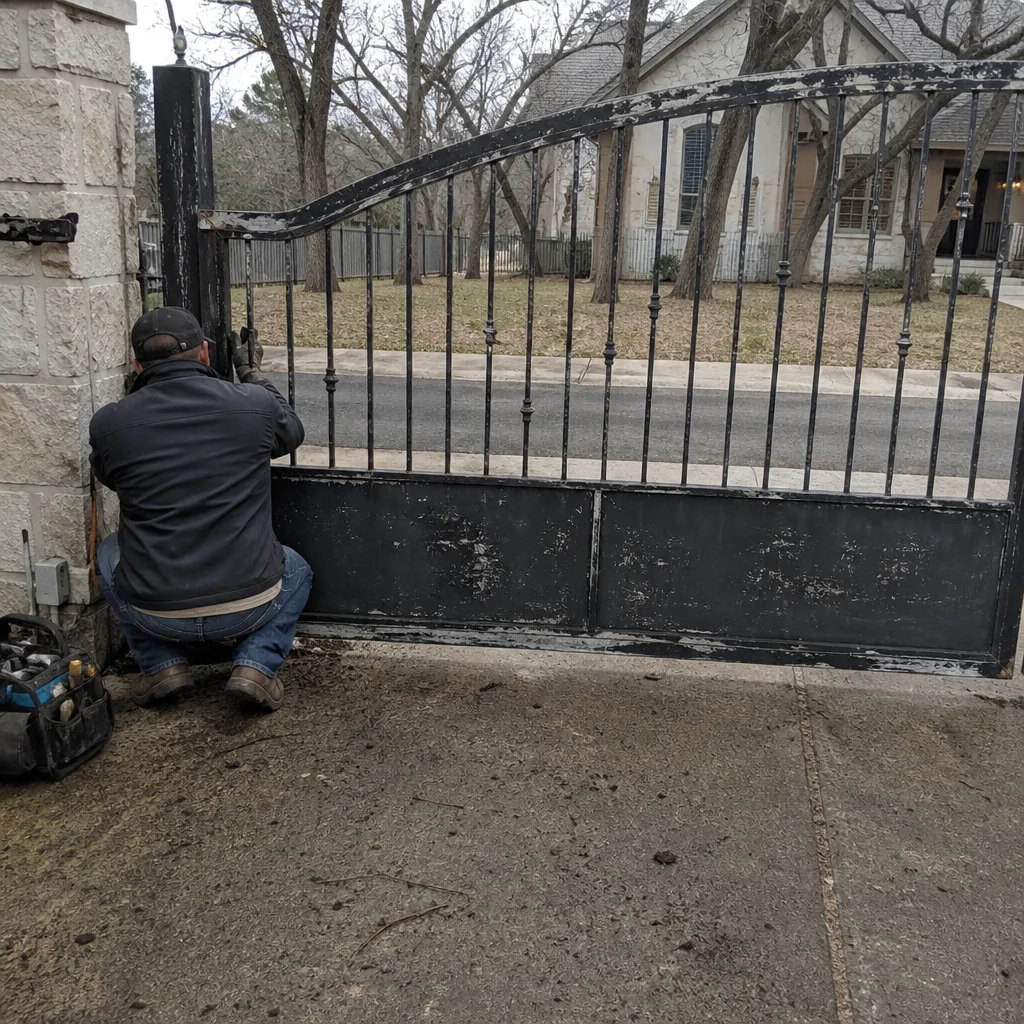 Before
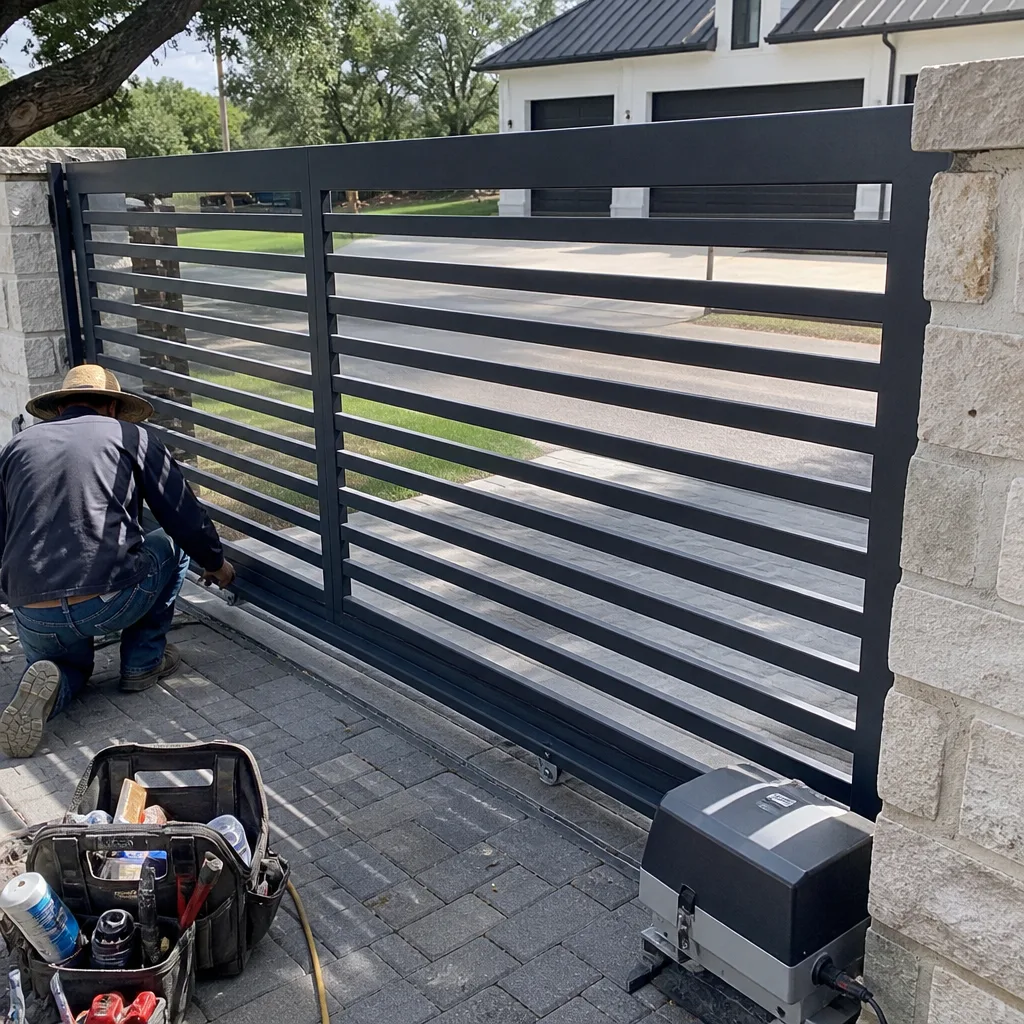 After
After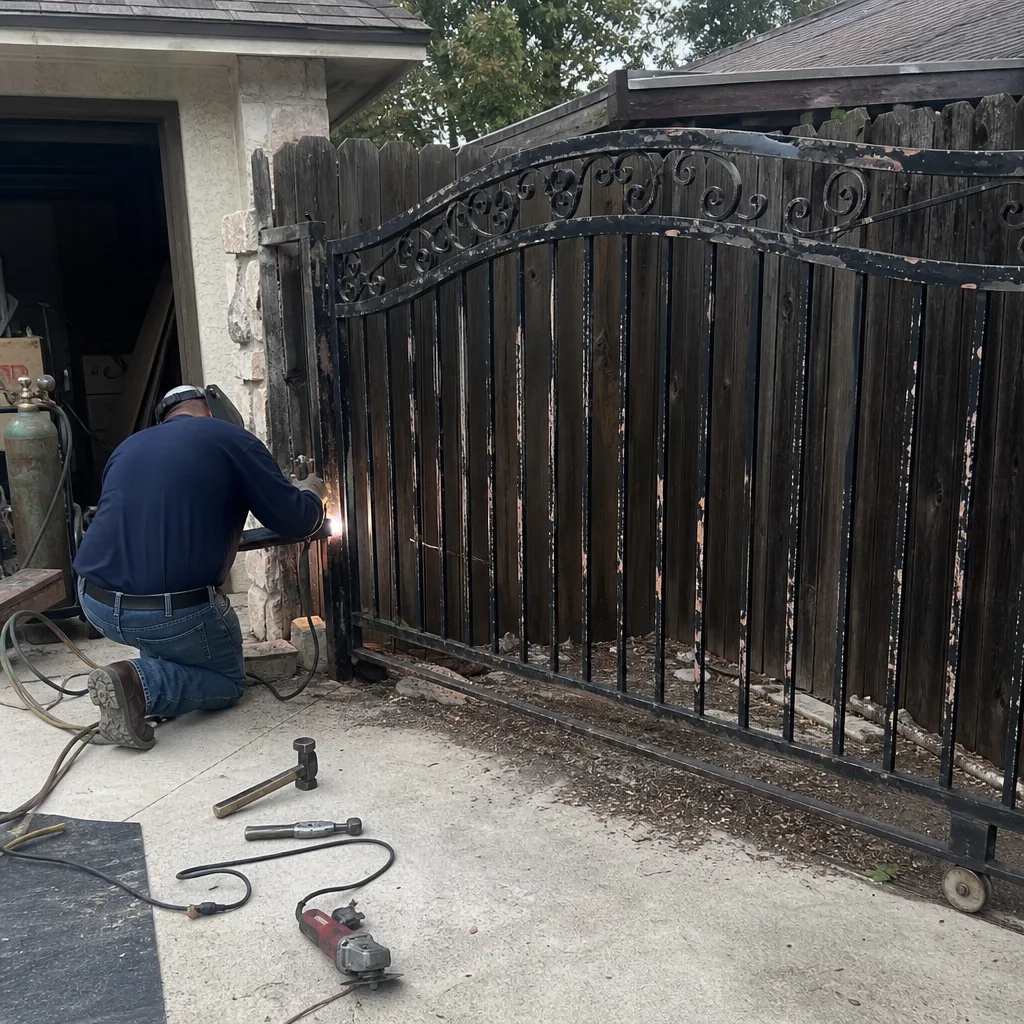 Before
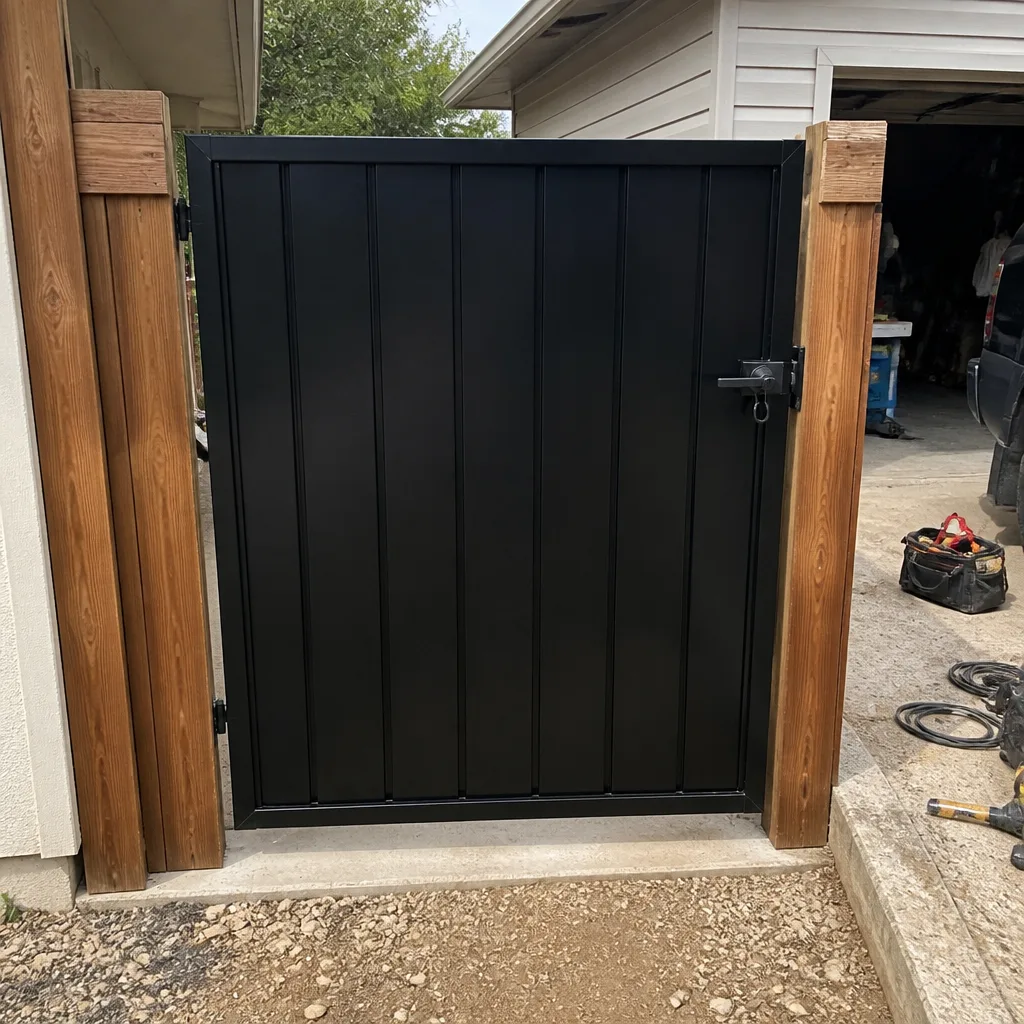 After
After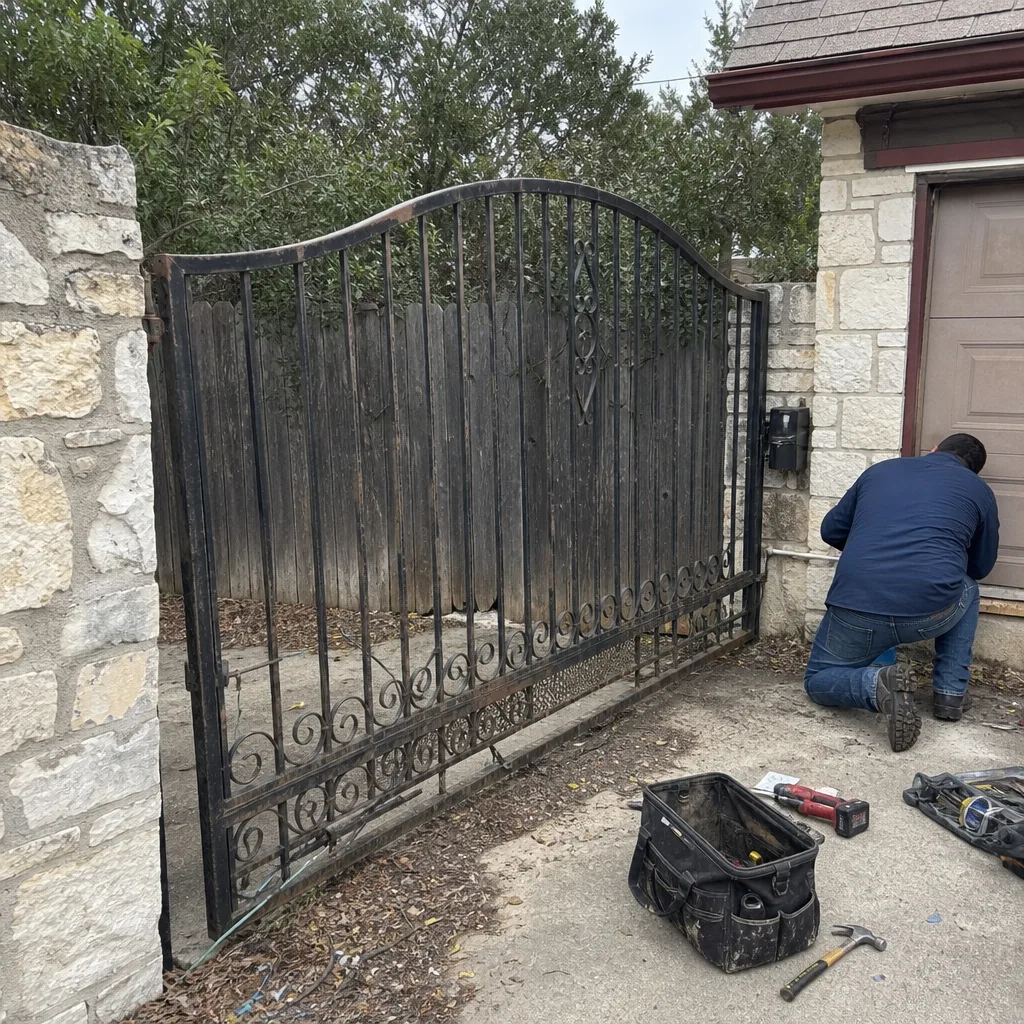 Before
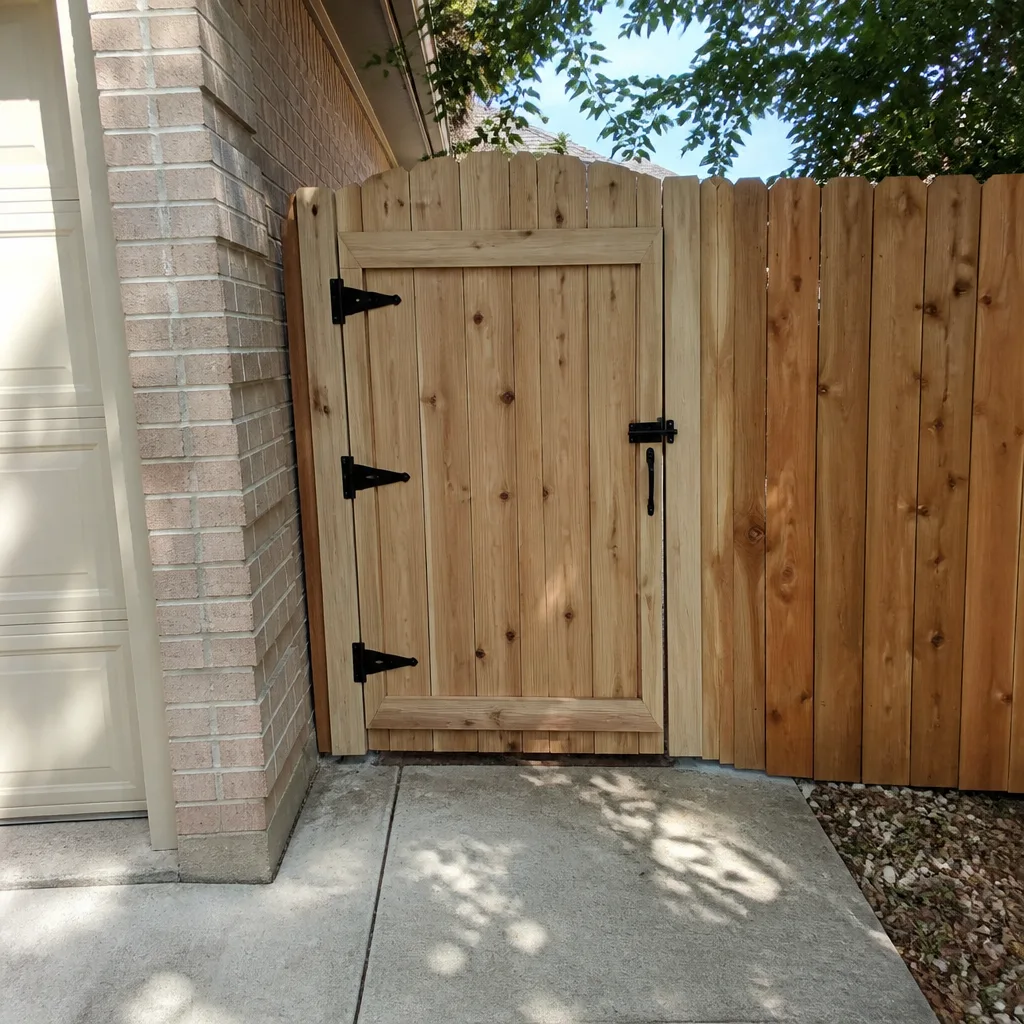 After
After